

Bias Cutter Solution: Achieve Flawless Precision Cuts for Any Fabric Project
2026-11-02
Ever tried cutting fabric on the bias and ended up with stretched, uneven strips? You're not alone. The Bias Cutter Solution from AUGU AUTOMATION eliminates that struggle, delivering flawless precision cuts for any fabric project—whether you're working with chiffon, denim, or anything in between. Here's what's coming up: the tech behind it, real-world results, and why this might be the last cutting tool you'll ever need.
The Reason Your Bias Strips Always End Up Wavy
Bias strips are cut at a 45-degree angle to the fabric’s straight grain, which gives them that lovely fluid drape—but it also means they have almost no structural stability. When you handle them like ordinary straight-grain strips, every tiny tug, stretch, or uneven feed through the machine gets locked into the fibers. Because the threads are oriented diagonally, the fabric responds by rippling instead of lying flat, and those waves become permanent once the strip is stitched into place.
Heat and moisture make it worse. A hot steam iron can shrink or distort the strip slightly along its stretchy axis, and if you press before the strip has fully relaxed, the waviness sets in for good. The real culprit is often impatience: pulling the strip to fit a curve, forcing it through the machine, or not letting it rest before cutting all introduce tension that the bias can’t evenly distribute.
The fix starts with treating bias strips gently. Let them hang or rest after cutting, pin or baste instead of stretching, and lower your iron temperature or use a pressing cloth. If you avoid fighting the diagonal grain and work with its natural give, your strips will settle smoothly instead of rippling.
A Cutting Guide That Actually Stays Put on Slippery Fabric
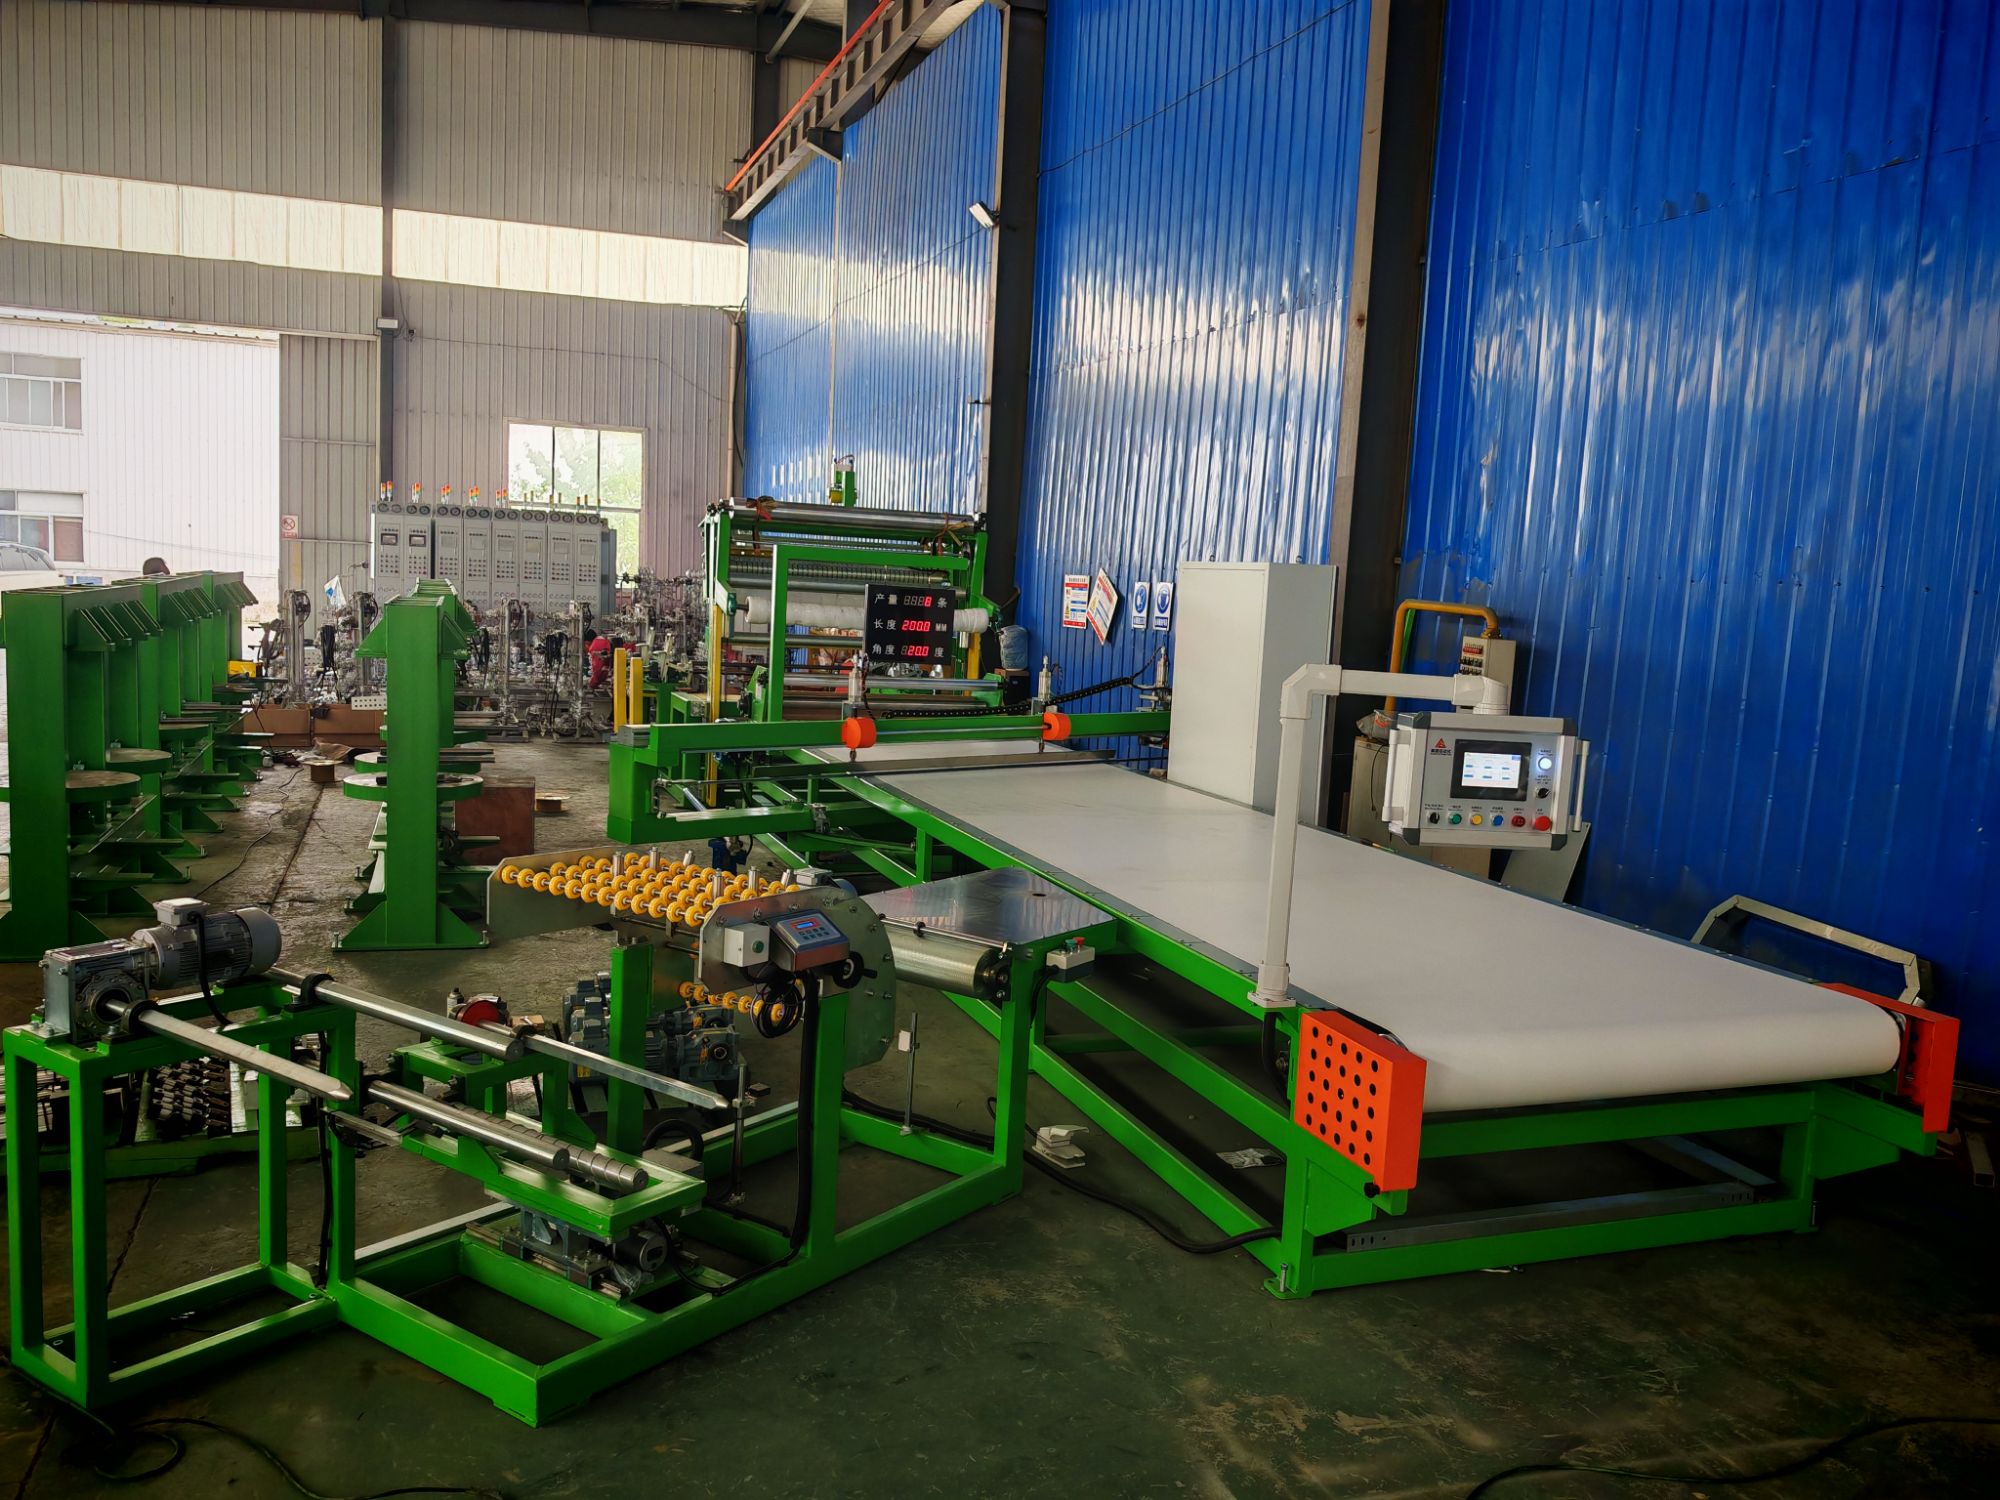
Anyone who has tried to cut satin, chiffon, or silk with a regular acrylic ruler knows the drill: you line everything up, press down, and the guide slides a fraction of an inch just as you start cutting. That tiny shift turns a straight edge into a wobbly one, and the fabric puckers or frays before you even get to the seam. The fix isn't more pressure—it's a guide that grips the surface without crushing the fibers.
This cutting guide replaces the usual slick bottom with a dense, non-slip layer that grips slippery textiles on contact. The surface is firm enough to keep a rotary cutter tracking true, yet soft enough not to leave marks on delicate finishes. Because the guide stays in place on its own, you can focus on smooth, even blade strokes instead of wrestling with the tool. The edge is beveled to a thin lip, so the blade can ride along it cleanly without catching.
For best results, smooth the fabric flat with your hands before positioning the guide, then press it down along the entire length. Let the non-slip backing do the work—there's no need to lean on it. Cut in one steady pass, lifting the blade only at the end. Once you stop worrying about the guide moving, you'll notice how much sharper your finished pieces look, even on the most stubborn fabrics.
How to Get Straight Edges Without a Steady Hand
Straight edges are less about a calm wrist and more about giving your tool a fixed track to follow. Painter's tape works well for this: lay it down along the line you want, press the edge firmly with a fingernail or the back of a spoon, then paint right up to and slightly over the tape. The moment the paint loses its wet shine, pull the tape back on itself at a sharp angle. Waiting until it dries can cause the edge to tear and leave jagged bits behind.
If tape feels too fussy, a metal ruler or a flexible curve ruler can act as a physical fence. Rest the brush ferrule against the ruler's edge as you drag it, letting the hard edge absorb any wobble. For very long lines, switch to a drywall taping knife or a thin plastic guide clamped lightly to the surface. Another trick is to seal the tape line with the base color first: paint a thin coat of the surrounding color over the tape's edge, let it dry, then paint the accent color on top. That seals any micro gaps and keeps the new color from creeping under the tape.
One Pass Through the Bias Cutter, Zero Frayed Ends
If you’ve ever spent more time trimming ragged strips than actually sewing, you’ll notice the difference immediately. Running fabric through the bias cutter once leaves an edge that doesn’t need a second pass. No wispy threads, no uneven width, no stopping to reach for scissors after every few inches. The blade angle and guide do the work together so the strip comes out with the kind of clean, continuous edge that used to require a steady hand and a lot of patience.
That single pass matters because every extra trim introduces a chance to veer off-grain or shave the width down too far. With this cutter, the fabric feeds through without snagging, and the cut line stays true from end to end. You get a folded tape that’s ready for edging, binding, or piping without the usual pile of fuzz and clipped bits left on the cutting mat.
Make Every Fabric Project Look Professionally Finished
A project rarely fails because of the big steps — it stumbles on the last few stitches, the uneven hem, or the edge that frays two days later. Professional finishing isn't about buying better fabric; it's about controlling what happens at the edges, seams, and corners before you call it done.
Start by pressing every seam flat before you cross it with another. That single habit removes more bulk and wobble than any fancy tool. Then learn one clean edge finish that works for your fabric weight: a narrow double-fold hem for light cottons, an overcast stitch for loosely woven linens, or a bound edge when you want the inside to look as deliberate as the outside.
Finally, slow down for the last five percent. Clip corners close but not through the stitching, grade bulky seam allowances so they don't press a ridge into the surface, and give the finished piece a final steam with a pressing cloth. Those small, unglamorous moves are what make a handmade item read as polished rather than merely done.
The Trick to Cutting Perfect Angles Every Single Time
Most angled cuts go wrong before the blade even touches the wood. The real trick is to stop trusting the degree marks on your miter gauge or saw—they're often off by a full degree or more. Instead, mark the angle directly from the workpiece or a reliable template using a sharp pencil or knife, then set the saw to that line, not the numbers. This removes the guesswork and the need to constantly check a digital protractor.
Once the line is marked, cut just outside it by a hair. Don't try to split the line on the first pass; leave a fraction of material so you can test the fit. If the angle is slightly open at one end, a couple of passes with a hand plane or a few strokes on a sanding block will bring it into perfect contact. The goal is to sneak up on the final fit, not to nail it blindly from the saw.
For repeat cuts, build a simple jig or use a stop block with the exact angle locked in. A scrap of plywood with a cleat can hold the workpiece at the right orientation every time, so the tenth cut matches the first. When you stop adjusting the tool and start trusting a fixed reference, perfect miters and bevels stop being a lucky accident.
FAQ
The main difference is that a good bias cutter locks the fabric at the correct 45-degree angle and keeps the blade path completely straight the whole way. With a ruler and rotary cutter, your hand can wobble or the ruler can shift, especially on longer strips. A dedicated bias cutter removes most of that guesswork, so you get identical widths from the first strip to the last.
Yes, but the trick is to use a fine blade and a light touch. Some cutters have a non-slip base or clamp that holds the fabric without stretching it. If yours doesn't, a piece of tissue paper under the silk helps. Once the fabric is stable, the cutter glides through cleanly instead of dragging the fibers.
Not really. Most people get usable strips within the first ten minutes. The key is to start with a medium-weight cotton, set the width guide, and practice feeding the fabric smoothly without pulling. The tool does the angle math for you, so you're mainly focusing on keeping an even pace.
Most home models let you cut anywhere from about 1/4 inch up to 4 inches wide. That covers everything from delicate neckline binding to wider bias tape for quilts or garments. If you need something beyond that range, you can often remove a guide or use the cutter freehand with a ruler for one-off pieces.
Use a brand-new blade and don't stretch the knit as you feed it through. Lightly starching the fabric before cutting also helps stabilize it. Some cutters accept a rotary blade with a finer tooth pattern that slices through knits more cleanly. The main thing is to let the tool do the work and keep your hands relaxed.
Mostly it comes down to changing the blade regularly and keeping the cutting track free of lint. If your model has moving guides, check that the screws are snug but not overtightened. A tiny drop of sewing machine oil on any sliding parts can keep the action smooth. Wipe the base with a dry cloth after each project.
It can, but you need to match the blade to the fabric weight. Quilting cotton cuts beautifully with a standard blade. For denim or canvas, switch to a heavy-duty blade and make fewer layers at once. The cutter's pressure should be firm but steady, and you may need to go over very thick seams slowly.
The biggest one is accidentally cutting strips that drift off the true bias. That happens when the ruler shifts or you try to cut too quickly. A bias cutter keeps the fabric aligned to a fixed angle, so the strips stay on-grain rather than becoming skewed. It also prevents width variations that show up when you sew the strips together.
Conclusion
Wavy bias strips are almost never caused by a dull rotary blade or poor fabric. The real culprit is the guide moving mid-cut, especially on silks, satins, or lightweight cottons that slide the moment you apply pressure. Most quilters and garment sewists have learned to compensate with a tight grip and slow, deliberate passes, but that only adds hand fatigue and still leaves inconsistent edges. A bias cutter designed with a non-slip base changes that dynamic completely. Instead of wrestling the ruler, the tool stays anchored to the fabric, letting the blade track along a fixed channel. You don't need a rock-steady hand or years of practice. One pass through the cutter produces a strip with clean, straight edges—no frayed threads, no wavering width, no second trimming.
That consistency carries into every project, whether you're binding a quilt, finishing a neckline, or adding piping to a bag. Because the cutting angles are built into the tool, you get a true 45-degree bias every time, not the slightly off-kilter strips that twist and pucker when sewn. The result is fabric that lies flat, joins smoothly, and gives your work the kind of crisp, professional finish that usually comes from a dedicated cutting table. Even if you're working with slippery lining or a loosely woven linen, the guide stays put while the blade does the work. It's not about having better technique—it's about using a tool that removes the variables. Your fabric projects stop looking handmade in the wrong way and start looking intentionally precise.
Contact Us
Contact Person: Lareina
Email: [email protected]
Tel/WhatsApp: +86 17561696737
Website: https://www.auguauto.com/